


『LZB flowmeter』Related information(clamp on meter|electromagnetic meter|venturi meterrotameter|orifice meter|ultrasonic flow meter|mass flow meter|coriolis mass flow meter|coriolis flow meter|magnetic flow meter|magmeter flow meter|magflow flow meter|mag meter flow meter|electromagnetic flow meter|vortex flow meter|turbine flow meter|thermal mass flow meter|thermal flow meter|rotameter flow meter)
1. How to disassemble LZB4WB glass rotor flowmeter? The core operation of disassembling LZB-4WB glass rotor flowmeter requires attention to safety and detail control to avoid glass tube damage. 1. Before disassembly, be sure to close the fluid pipeline valve to ensure that there is no pressure or residual fluid in the system. Prepare tools: wrench, screwdriver (choose the model according to the end cap fixing method), wear protective gloves if necessary
2. Specific disassembly steps: Step 1: Remove the pipeline connection. Use a wrench to evenly loosen the nut or bolt connecting the flowmeter to the pipeline, and do not apply force on one side. If the thread is tight, you can drop a small amount of lubricant and let it stand before trying again to prevent slipping. Step 2: After loosening the main pipeline interface of the flowmeter, gently move the flowmeter to detach it from the pipeline. Pay attention to whether the interface gasket is adhered. If there is aging adhesion, a thin blade tool can be used to assist in peeling to avoid pulling the glass components. Step 3: Disassemble the end cover and check the fixing method. If it is fixed with screws, gradually loosen them in diagonal order (to avoid uneven force on the glass). The snap on end cap requires a flat head screwdriver to gently pry the edge of the snap on, and cannot be forcefully bent. Step 4: Remove the internal components and support the bottom of the glass tube slowly. If there is resistance, adjust the angle slightly. Tilt the flowmeter body when removing the rotor, allowing it to naturally slide onto the cushion. Do not strike or clamp with hard objects. 3. Structural differences should be addressed. If non-standard accessories such as sealin
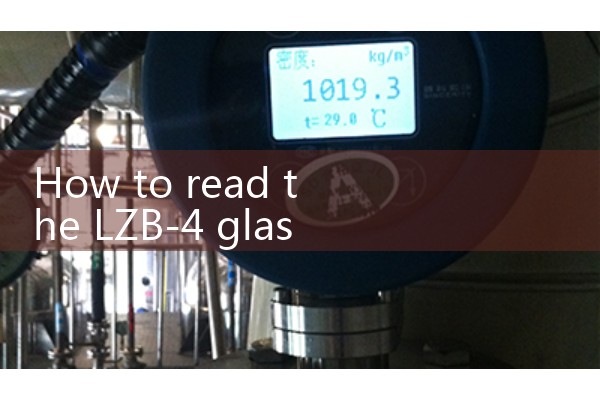
2. How to read LZB-4 glass rotor flowmeter
The core reading method of LZB-4 glass rotor flowmeter can be summarized as "three confirmations and one Xianglv correction"
1. Confirm the medium and corresponding scale. The instrument scale may contain multiple sets of scales, and the corresponding scale should be selected according to the actual measured medium (such as water, air).
. Directly read the numerical values associated with water when using water as the medium; If the medium is different from the calibration conditions, reference should be made to the instruction manual or the conversion parameters provided by the manufacturer. 2. Observe the rotor position horizontally until it is stably suspended, and keep the line of sight level with the edge of the upper end face of the glass tube rotor. At this time, the corresponding scale value is the instantaneous flow rate value. If looking up or down is prone to visual errors, adjusting the standing height can ensure a level view. 3. Checking the flow unit and range scale v Hot News
 Related AD